Gel Manicure Essentials:Techniques Behind a Flawless Finish
A gel manicure looks simple: base coat, colour, top coat, and a few seconds under a lamp. In reality, the difference between a set that lasts three days and one that lasts three weeks is almost entirely about preparation, tools, and technique. If you want salon-quality results at home, or if you are building a professional kit, you need more than polish. You need the right accessories and the discipline to use them correctly.
Why Nail Preparation Is the Key to Success?
Gel polish does not bond to oil, moisture, dust, or dead skin. It bonds to clean, dry, slightly textured keratin. If anything sits between the gel and the nail plate, the gel will lift. This is why preparation is not a preliminary step—it is the foundation.
Natural nails carry a thin layer of sebum, invisible cuticle tissue, and microscopic dust from daily life. Even after washing your hands, oils remain. If you apply gel over these barriers, the product may look perfect for a day or two. Then it begins to peel at the cuticle or sidewalls. Water gets underneath, and the whole manicure fails.
Proper preparation removes these barriers. It shapes the nail, clears the cuticle area, gently textures the surface, and dehydrates the plate. This creates the ideal environment for the base coat to grip. When prep is done well, everything that follows—colour, top coat, and curing—performs better.
Essential Tools for Nail Preparation
A complete prep kit should include both manual and electric tools.
Cuticle pusher. A metal or wooden pusher gently lifts the proximal nail fold and clears dead tissue from the nail plate. Wooden sticks are disposable and hygienic. Metal pushers are reusable and must be disinfected.
Cuticle nippers. Sharp nippers trim only loose, dead skin. Never cut living cuticle. Dull nippers tear the skin and increase infection risk.
Nail files. Use a 180–240 grit file for natural nails. File in one direction only. Sawing back and forth creates micro-tears that lead to peeling.
Buffer block. A fine buffer removes shine and smooths ridges. Light passes only—over-buffing thins the nail.
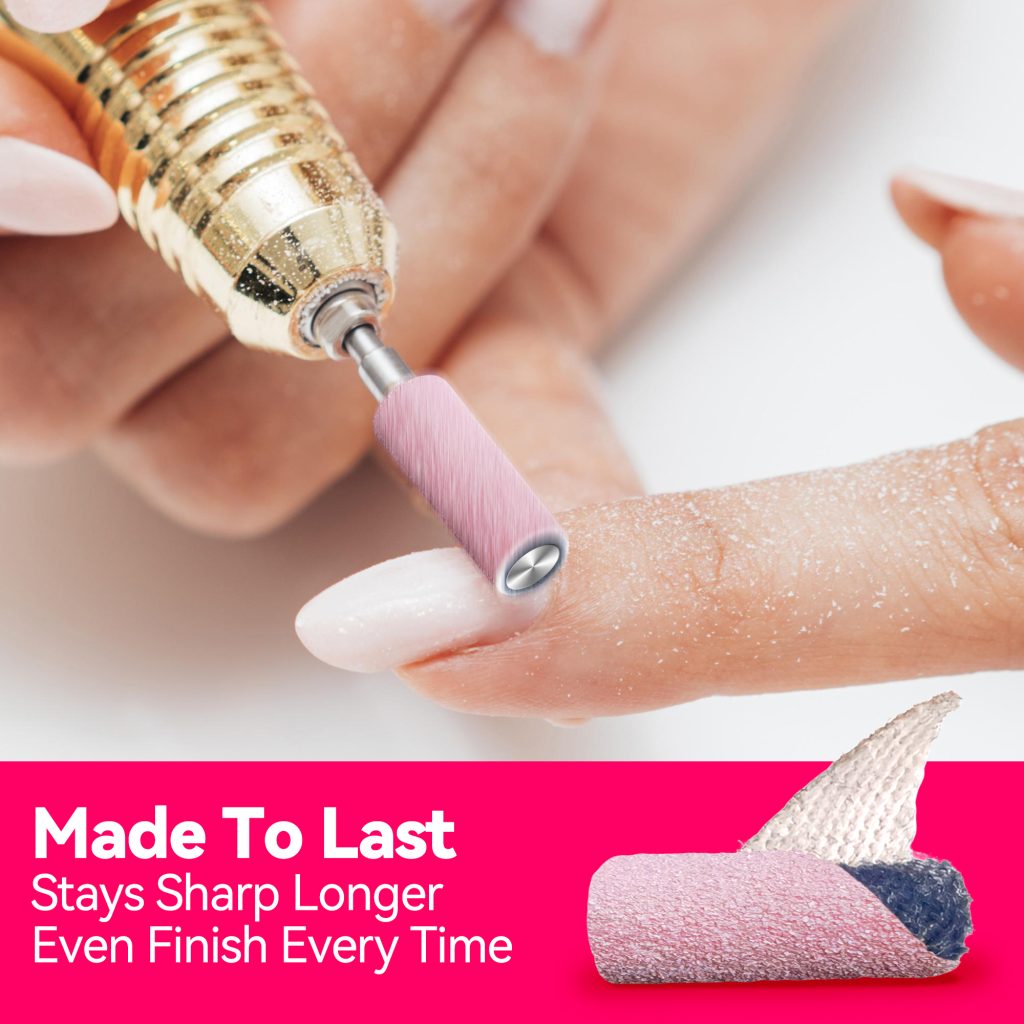
Mini sanding bands. These small abrasive sleeves fit on an e-file mandrel. Their small diameter allows precision work around the cuticle and sidewalls. Use fine grit (180–240) at low speed. They are disposable, which supports hygiene.
Electric file (e-file). Useful for cuticle detail, product removal, and refining. It requires practice. Keep speed low for natural nail work and use light pressure.
-1024x1024.jpg)
Lint-free wipes. Cotton balls leave fibres that interfere with adhesion. Lint-free wipes are essential for cleanser and dehydrator.
Dehydrator or 91% isopropyl alcohol. This removes oils and moisture from the nail plate. It is non-negotiable for gel.
Primer. Optional for most clients, but helpful for oily nail beds. Primer improves adhesion but is not a substitute for dehydration.
Dust brush. Removes filing dust before cleansing.
Cleaning and Disinfection: Non-Negotiable
Gel manicures involve skin contact and sometimes minor abrasions. Tools can carry bacteria and fungi. Cleaning and disinfection protect you and anyone whose nails you work on.
Metal tools should be washed with soap and warm water to remove debris, dried, then disinfected with an EPA-registered solution or 70%+ isopropyl alcohol. For professional use, sterilisation in an autoclave is the gold standard.
Files, buffers, sanding bands, and wooden sticks are porous and cannot be properly disinfected. therefore, it is best to choose disposable nail supplies. Do not share them. After each client or session, discard them.
Your work surface should be wiped before and after each service. Wash your hands before and after. If you use an e-file, clean the bits and the handpiece. A clean kit is not just about appearance—it is about safety.
Gel Application: Key Steps and Products
Once prep is complete, the application sequence is straightforward but unforgiving. Each step matters.
Base coat. Apply a thin layer and cap the free edge. Keep it off the skin. Cure according to the manufacturer’s instructions. The base coat is the adhesive layer. If it is too thick, it cures unevenly and lifts.
Colour gel. Apply two or three thin coats, curing between each. Thin layers cure evenly and look smooth. Thick layers trap heat, wrinkle, and peel. Cap the free edge with every coat. Maintain a small gap around the cuticle and sidewalls.
Top coat. Apply a thin layer and cap the free edge. Cure fully. Wipe the inhibition layer with cleanser if required. The top coat seals the colour and provides gloss and scratch resistance.
UV/LED lamp. Use a lamp compatible with your gel brand. LED lamps cure faster; UV lamps take longer. Replace bulbs or the lamp when curing becomes slow or uneven. Under-cured gel is soft, sticky, and prone to peeling.
How to Ensure Long-Lasting Results?
Durability comes from small details.
Keep layers thin. Thin gel cures properly and bonds better. Two or three thin coats outperform one thick coat every time.
Cap the free edge. The tip of the nail is the most vulnerable point. Sealing it with base, colour, and top coat prevents water from seeping underneath.
Keep gel off the skin. Gel that touches the cuticle or sidewalls lifts first. Clean up with a small brush dipped in alcohol before curing.
Cure fully. Follow the recommended time. If the gel feels tacky after curing, give it more time. Do not guess.
Prepare thoroughly. Oils, dust, and cuticle residue are the enemy. Dehydrate twice if needed. Do not touch the nail plate after dehydrating.
Use aftercare. Apply cuticle oil daily. Wear gloves for dishwashing and cleaning. Avoid using your nails as tools. Do not pick or peel lifted gel. If you see a lifted edge, file it smooth and seal it with top coat, or have it repaired.
Take breaks. Give your natural nails a few days of bare, oiled rest between gel sets. This allows the nail plate to rehydrate and reduces cumulative damage.
The Bottom Line
A beautiful gel manicure is not created by the colour alone. It is created by preparation, precision, and hygiene. Use the right tools. Clean and disinfect them. Prep the nail thoroughly. Apply thin layers. Cure fully. Seal the edges. Care for the manicure after it is finished. These habits turn a short-lived paint job into a durable, glossy, professional-looking set. Whether you are a technician or a home user, the essentials are the same: clean tools, clean nails, and careful technique.
Read also: The Art and Science of Manicures: Why We Love Them, What They Really Are, and How to Do Them Right